Showing posts with label Logos. Show all posts

May 15, 2016

3D Printed Event Hashtag for Google IO 2016

Back in 2008, I attended my first Google IO event - a conference put on by Google to focus on tools and platforms for developers mostly (programmers).

Since those early days, the event has grown tremendously and is now the premiere forum for Google to introduce new, innovative products for everyone, with a deep focus on platforms like Android and Chrome and developers on those platforms.

But this isn't a post about Google IO. This is a post about a 3D Printed keychain I designed to celebrate Google IO 2016.

Model design


I admit - I didn't give much thought to this design. I simply wanted to have something to give out to my friends and others who show interest in 3D Printing (if you see me there, mention this post and I'll give you one if I have any left).

I just used the Google IO 2016 hashtag that I hope everyone decides to use - so not the long version #GoogleIO2016 - but rather the shortened #io16.

To make this model, I simply created the text, using Gill Sans font (which seemed to match the font on the GoogleIO site the closest) and then made a frame to hold all the parts easily. I actually referred back to my old post about 3D Printing text to help choose the font and to consider positive and negative (cutout) designs.

Making the model slightly more interesting


This is a rather boring model, I know. To add just a bit of interest, I decided to try rotating each letter/number a bit on the y-axis.


At about 15 degrees, this looked pretty good! I simply chopped off the bottom part (underside) of each letter/number after rotating to keep a flat base, and this became the preferred design for sure.

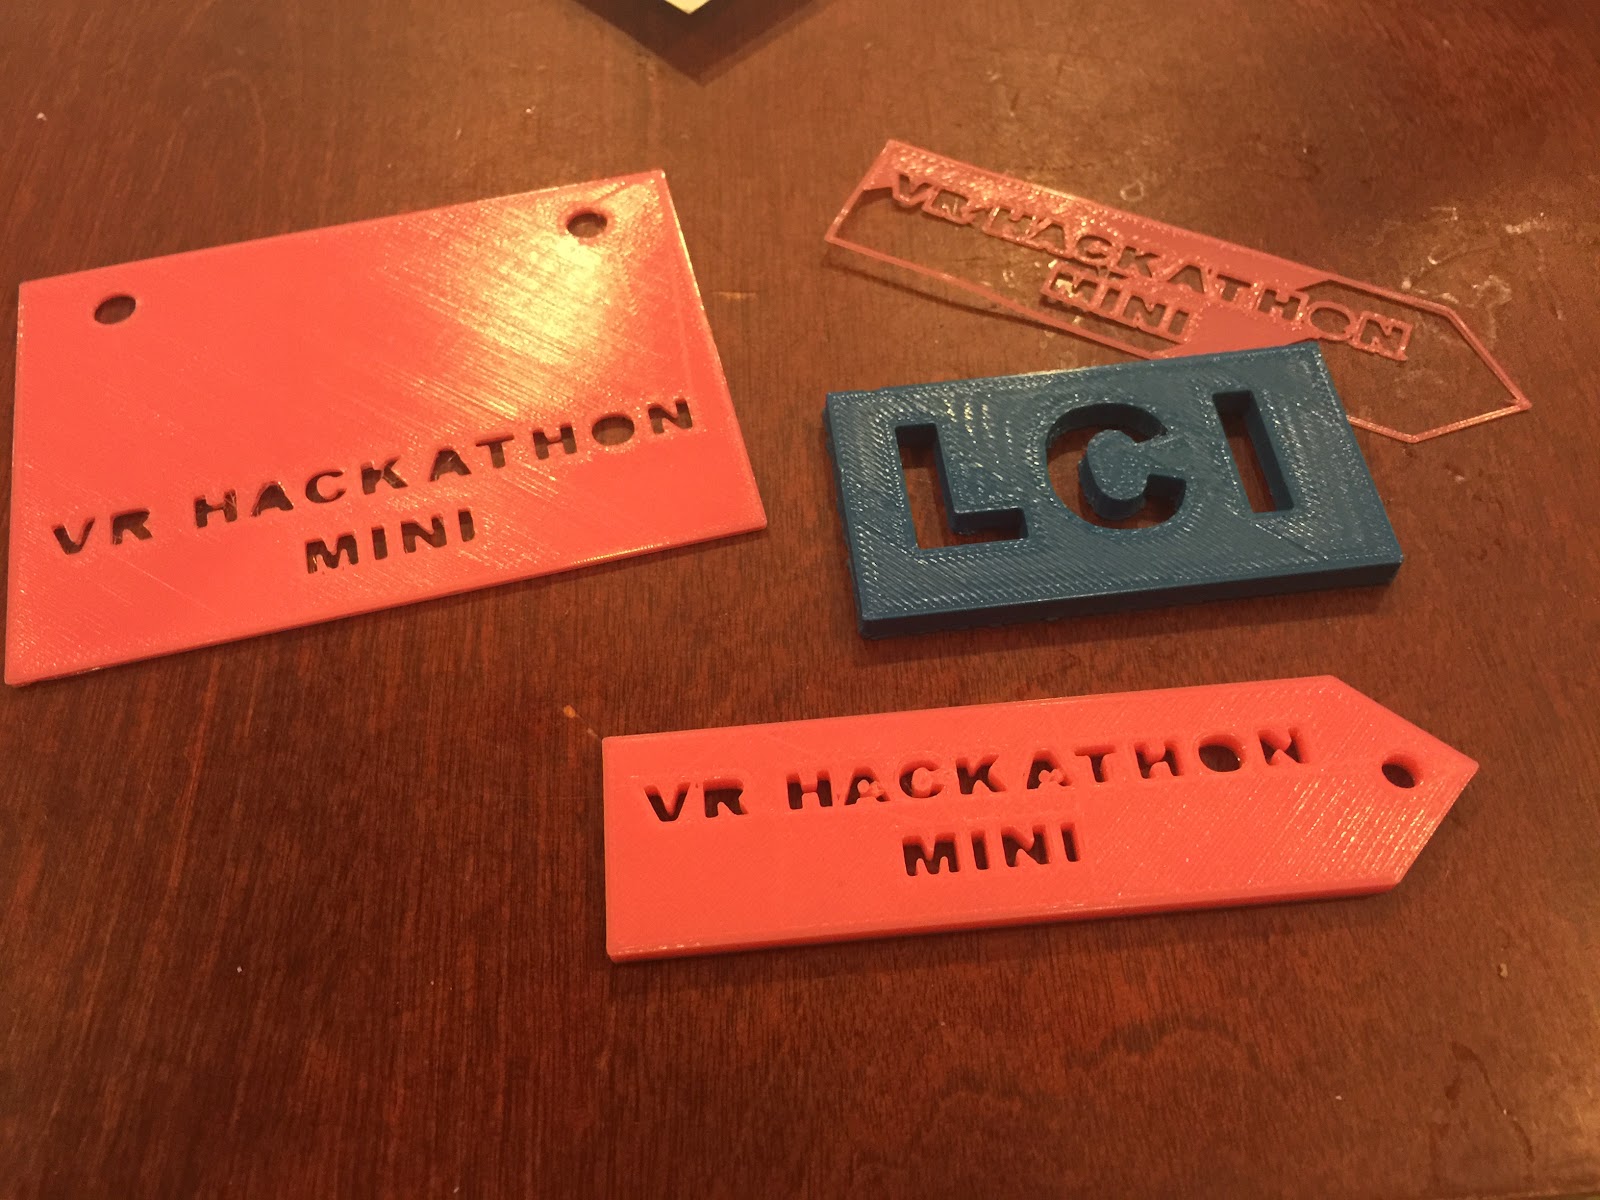
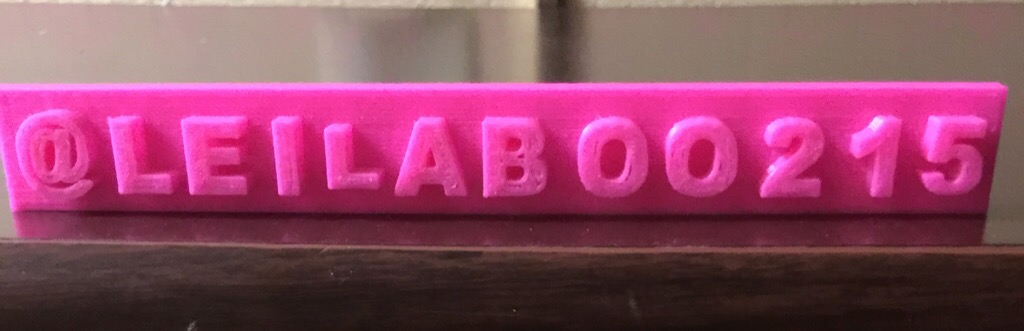
Got an event coming up? Got a Twitter hashtag you like? Make a 3D Printed keychain to show some love!

The Model


If you've really become a fan of GoogleIO, you might want to print some of these before the event on Wednesday this week (May 18-20, 2016).
Here is the model on Thingiverse :)

May 13, 2016

3D Printed Logo for Google Keep

My newest favorite Google app is Google Keep.

It's a quick scratch pad, list keeper, note-taker, image-grabber, doodle-maker, even voice-note-taker app. It's fast and it works on every device where I need it - my phone, my kid's iPhones, and the web - and it lets you share notes with other people.

Google Keep is perfect for that shared grocery list or those quick meeting notes, or that inspirational idea keeper...

But wait - this is not an app review - this post is about the Google Keep LOGO.

Design Goals


I was simply looking to represent yet another Google app logo in a form which could be used as a key-chain or backpack charm. I've done this, as you probably know, with a few other Google Apps, so it seemed fitting to now do Google Keep, since I use the app more than once a day.

The Google Keep logo is a light bulb on a small note pad looking base with one corner turned up. One of the goals of all these logo models is to keep them simple so they print easily and quickly. In the case of the Keep logo, I had a couple of options.

The base was easy, but my options for the light bulb seemed to be either to make it just a cut out into the base, or to make it stick out vertically from the base.

Design Process


The individual parts which make the bulb and base
I started with the easy part - the base. This was a variation on the Google Docs, Sheets and Slides base - that is, a rectangle (square in this case) with a turned up corner. I did the same thing as before, creating the square foundation at about 40mm square and 4mm high, then cut off one corner and rotated it about 135 degrees to appear to be turned up.

To make the bulb, I connected a round sphere to a cylinder. I then created a smaller cylinder at the bottom of the first to represent the bottom part of the electrical connection on a light bulb. I also cut a small gap about halfway down the larger cylinder to create the slight horizontal line that the logo has. I did this using a narrow, wide cylinder and then using the subtract tool to cut it out of the longer cylinder.

Now, I had to try two variations.

On the first, I simply subtracted the whole bulb shape from the base to leave a cut-out in the base in the shape of a light bulb.

On the second, I also cut out the light bulb shape from the base, but I made that cut-out slightly larger than the bulb and placed the original bulb centered in the middle of that cut-out. I then created a simple cylindrical connector to attach the bulb-base to the logo base - so the light bulb would be connected but still appear to be floating.

On that second variation - which looked quite good - I simply had to flatten the back side of the rounded bulb so that it would lay flat on the print bed along with the logo base. I only realized this after trying to print once and having a slightly artistic looking failed result ;)

The Model


This is the first time I created a logo model with two variations - but I like them both, so I'm posting both here.

The first is the cut-out light bulb.

The second is the floating light bulb.

Both models are HERE.

Hope you print lots of these for the Google Keep app users you know!


Feb 28, 2016

Google Calendar 3D Printed Logo


It has been quite a while since I've modeled a Google product icon (Expeditions), and much longer since I did my first (Google Docs!) - so I thought it was time to catch up with some others that are deserving. Google Calendar is one of my most used products, so here it is.

Design Goals


The Google Calendar icon is unique in that it attempts to represent a perspective look - that is a 3Dimensional look - in a 2D design. So with this one, I wanted to try to achieve the look of the icon with an actual 3D model. You can see the result of the 3D Model - viewed at the right perspective - looks pretty well like the 2D version.


Design Process


Revolve tool created perspective
To get the dimensions right, I used the Google Drawings trick - where I trace the image. I could have easily just measured the dimensions - since the foundation of this design is just a few rectangles.

In the end, I had three rectangles - One for the base (which has the two holes at the top), one for the top part of the calendar numbers and one for the lower part. Both of those calendar parts sit on top of the base.

To get the perspective angles on the top and bottom of the rectangles, I used the "revolve" extrusion tool in Autodesk 123D Design. The bottom part, I revolved 15 degrees, and the top part, 30 degrees. Then I used the "Filet" tool to round the corners.

To get the numbers embossed into the two halves, I actually created the numbers using the "Text" tool, and then cut the numbers in half. Then I aligned each half to be flush with the top surface of each of the respective calendar halves and pushed them into the surface by 2mm. Then, of course, I "Subtract"ed them from each half - and voila! I had the look of a real paper flipping calendar!

The Model


Since this is one of the Google Product icons, I've added it to my Product Icons page, which you can find right here on my blog (the tab at the top takes you there) along with many other product icons.


Oct 16, 2015

3D Printed Plaques Are Fun Personalized Gifts

This past summer, one of the products I worked on at Google hit a milestone - Google Spreadsheets turned 9 years old on June 6. More significantly for me, that exact date marked the 10th anniversary of our team joining Google.

I decided this milestone was worthy a big #3DPrinted Google Spreadsheets icon with a personalized message for the awesome people I worked with on day one and still work with at Google after all these years today.

I took the original Spreadsheets icon model and simply scaled it up - way up. It went from 4cm high to 12cm high by 9 cm wide by 2 cm deep.

Then I added extruded text - and since this would print on it's back, I didn't worry about the letters sticking pretty far out.

It stands up on the desk and that's pretty much it. The personalization is what makes this fun and relevant. Otherwise, it's just for show - just like real plaques! ;)

Oct 10, 2015

3D Printed Google Expeditions Logo is going places

I've explained a bunch of times on this blog how I like to achieve multi-color printing - with snap together parts. I did it with the Google Drive logo, and with the Gmail logo...

This time, I did it with the new product logo for Google Expeditions.

It actually didn't take too long to create a two-part design which can be printed in two different colors and then snapped together.

The Logo Design


The Google Expeditions logo is a simple base which looks a bit like a compass topped with a flag.  The base is typically in white or gray, and the flag is red. I created the two parts to be sized right for each other, and then added a simple indented mortise into the base and a matching (almost) tenon which could be snapped into the mortise. So the flag gets the tenon, and snaps into place into the base to create the finished product. This deserves a bit more explanation...

How to create the snap-togetherness


To create the mortise and tenon in a way which snaps together well is a bit challenging, but mostly just takes some experimentation - which I've already done lots of in past designs.

I found that with the typical lack of precision in printing melted plastic, you need about 0.4mm (400 microns) of clearance to get parts to snap together - give or take +/- 200 microns depending on the plastic, the printer and the resolution used.


To get a good fit - I create a small protrusion part (a rounded rectangle) and do two things with it. First, I connect it to the part which will have the tenon - so it protrudes. Then I copy it and increase the X and Y dimensions by 0.4mm and use that larger part to create the mortise (the indent) into the other connecting part.

Extending the design to BADGES!


This design gave me an idea to model something I've been tossing around with a few people - to create 3D Printed badges. I figured I could re-purpose this design to create a simple platform for badge creating - one which allows different badge bases to be combined with different badge icons.

I figured if I could make the Expeditions logo work with this more generic mortise & tenon design, I could then try it with a different object to replace the red flag - making a new badge. I used a spreadsheet logo (of course) as my first test - thinking that a spreadsheet badge would be quite useful for students or people learning how to use Google Sheets.

With the flag, it was easy to flip it over and print a tenon sticking up out of it since flag is otherwise flat... but with the sheets logo, which is non-flat on top, this would be harder (you can't have stuff sticking out of both the bottom and the top when printing on a flat bed of most 3D printers).

the bottom of the spreadsheet
logo icon now has a mortise to
snap onto the badge base.
My solution to this was to invert the connection between the base badge object and the badge icon. I made the base object have the tenon and put the indent - the mortise - on the badge icon (the spreadsheet icon in this test case. So now the spreadsheet logo would have the indented mortise.

What's next for this design


Worked (almost) like a charm. It was a bit tight, but with a little tweaking I could tell I had the start of a really good generic badge model. Look for more on this soon, and please give me more ideas for badges that you might use! In the mean time, I'll create some sample badge bases and some sample toppers to get the ball rolling and post them here soon!

Get the Expeditions (by Google) Icon model(s) on my Google Models page. It is actually two separate STL files - the Compass base and the Red Flag.

Jul 18, 2015

5 Name Tag designs for 3D Printing

One key benefit of 3D Printing is the ability to create custom designs aimed at a specific purpose or even a specific person. In traditional manufacturing, it's hard to get small quantities in the color and size you want, and even harder if you require more personalization - like your own name or logo or message as part of the product. This is where 3D Printing shines in comparison to traditional methods.

I wanted to get more experience working with 3D modeled text and to play around with some designs that I could offer to friends and colleagues - something more personal and unique to them. I decided to create some simple name tags - using my Twitter handle as the name.

The Big Curved Bird
I created 5 designs to start - but I could see getting carried away quickly with dozens of additional designs. These designs are mostly twitter oriented - and even with that constraint, there are so many small alterations which can be made to make additional unique designs.

The key feature of all these designs are that they must have a hole for a keychain loop. That's the only intended use so far, although small alterations could easily make these magnetic or pin ready.

Autodesk 123D design (still my main 3D Modeling app) has a text object which allows you to pick the font from a long list of about 174 fonts (!)... BUT... Not all of these actually render. I took some time to pick a few which have enough weight/thickness  and less detail (eg serifs) so they print well at small sizes.I'll definitely follow this post up with one solely focused on tips for working with text when 3D Modeling.

You can see all 5 designs in the pictures included here. The Big Curved Bird design was definitely the toughest of the bunch to get right, simply because I had to rotate each character individually. But overall, each of these was pretty simple to create. I expect to tweak these designs a bit and come up with new ones as I create some for my friends - so I'll post a new set of designs. Comment here if you have design ideas you think I should try (or pictures of your own designs!).

The Big "@"
The Right Bird

The Negative @Bird

The Basic Twitter Handle

Jul 5, 2015

A Girl's Introduction to #3DPrinting (guest post)

This is a guest post from Leila - the daughter of two awesome educators (@iwearthecrowns and @mr_isaacs) who is going into 7th grade. Here's her Bio in her own words: 
Hi my name is Leila(boo215) and I LOVE 3D printing!!! I am so happy that my school has a 3D printer and that the teachers are so nice to me! Also I love that so many kids can connect through maker clubs and 3D printing. I'm an all star cheerleader and did ski club and running with my school this year, and just a little fun fact, I ran two 5K's in two weekends! I am going to run cross country next year for my school!


Hi, my name is Leila and my parents made me go to the VR mini hackathon at the Bergen makerspace a few weeks ago. I didn't want to go for the whole day because it was too early so I went for the afternoon... where I then discovered tinkercad. The mentors all had a really cool name tag that I HAD to learn more about, here is what they looked like(the square on the left).

I wanted to know how they made them and one of the mentors showed me the 3D printers. The students got the key chains(to the right). We had issues for taking my blue one off that I made because the letters were holes and it got stuck on the base, where the 3D prints are printed. 

Once I found Tinkercad which is a 3D design tool, I went right into making my whole family's Twitter handles - you can see how they looked in the pictures here.

I was a part of the AVON39 Youth Crew - a walk to end breast cancer - and because of how excited I was to be able to use the 3D printers, I went right into designing this design on Tinkercad.

I made them overnight at my school but they sadly got messed up, so luckily, the teachers of that classroom were so nice to redo the prints!

Jun 26, 2015

3D Printed Google Cardboard keychain

There are so many useful things you can do with a 3D Printer - yet I keep finding myself wanting to make useless but creative 3D Product logos... I've done Google Sheets, Docs, Slides, Forms, Classroom, Forms, Google Drive, even Gmail. I've even posted the models at that link so people can print these for themselves.

This week, inspired by our recent announcement of Expeditions, I decided on a whim to do a miniature rendering of Google Cardboard.

I actually started this 3D Model as a possible working Cardboard unit, but decided to first try it in miniature to make sure the relative dimensions were close to accurate. Once I shrunk it down, I couldn't help but add a keychain hole and make it just a trinket to give to friends and others who work on the Cardboard team. It's tiny and super cute.

Keep an eye out for a working model soon(ish). I'm sure I'll get to that eventually, and it's much more of a challenge than the keychain trinket version. But if you see me this week at the ISTE Education Conference, I can show you the keychain version in person.

Jun 14, 2015

Gmail catches up to Google Docs - with a 3D Printed Logo

Showing off my 3D Printed Logos of Google Docs, Drive, Sheets, Slides, Forms and Classroom at work gets other Product Managers in an envious state.

"Where's the Gmail logo?"

I heard that almost immediately, and at every subsequent showing, from the Gmail guy.
Well - as I explain to the Gmail guy, the Gmail logo, as we all know, is two-color, so quite challenging for a single extruder printer.

"You figured that out for the Drive logo - do it for Gmail!".

OK - done.

The Design


The Gmail "M" is red and the "envelope" is white. I created small protrusions on the "legs" of the M which fit into small receiving holes in the sides of the envelope. I also created a base in the envelope so that the protrusions on the M could be printed flat on the print bed and not show from the back of the logo when put together. This also makes it so that the M could not be seen from the back - which may have looked good, but definitely not necessary.

The M is also made so that the top part of the M is higher - a larger Z depth - to make it look like the edge of the envelope flap... exactly as done on the 2D graphic of the Gmail logo. Otherwise, it's a really simple model.

The Results


The first pair (envelope and M) I printed were not a perfect fit by any means - tool lots of cleanup of edges on the M to fit it into the receiving space on the Envelope - but I got it to fit and made some adjustments in the model to give some more room for error (more clearance) without making the fit too loose. The red filament I used - from Ultimachines - also tended to be a bit over extruded and oozy - so there was more of a brim than expected. I also think the humidity had an effect on the day I printed this particular model.

The current version of the model prints well and is easy to put together. Looks great as a useless keychain ornament... You're welcome, GMail guy.

The Model


If you want to try printing this yourself, the STL files can be found on the Google Product Logos page. Warning: on my printer, the bottom layer is almost always a bit squashed and creates a slight brim which needs to be shaved down with a knife a bit to fit well into the white part.

Feb 15, 2015

Multi-Color 3D Printing Using Snap Together Parts

In my first few weeks with my 3D Printer, I was on a roll making 3D Models & prints of product logos - specifically the Google Apps products that I've been involved with. But, there was one product I was avoiding because of it's multiple color scheme - Google Drive.

The Google Drive logo is an equilateral triangle of 3 colors - blue, yellow and green. But, look at it closely and you'll also notice it is made up of 3 identical parallelograms - rhomboids, actually - as each side of the triangle, which fit together to form that shape.


Given that I had already experimented with snap together shapes, I decided the Google Drive logo was worth a shot.

I was sure that I could design and model just one part and then print it in 3 separate colors, which would then snap together to form the Google Drive logo.

The model was a variation on the experimental snap-together part I had previously designed. This one was would be more mathematically beautiful - with 60 degree (or 120 degree, depending on how you looked at it) angles between the horizontal and vertical parts of the rhomboid. That's what makes the triangle work when three parts are connected (remember that the sum of the 3 internal angles of any triangle equals 180 degrees; so 60 + 60 + 60 in this case)

The single part, printed in blue, green and yellow - with snap-together goodness - formed the Google Drive logo!

As a bonus - I found that these parts could be snapped together in other ways to form cool shapes and sculptures. I expect to do much more with the basic deisgn - but for now, I'm happy to print a few of these for some friends and co-workers who are fans of Google Drive.


Feb 7, 2015

Google Classroom gets a 3D Printed Logo

Did I say I was finished when I finally modeled the Google Slides logo to add to the Google Docs and Google Sheets set? Well, I lied (apparently).

Google Classroom deserved some #3D Printing love - so I modeled that logo and printed off a few keychain and backpack charms. I have an idea on how to make these two color, but for now, I think Green is the best treatment. I had some issues printing these initially, as I was simultaneously testing some new slicing software (wrote about that issue separately) - but eventually I got some pretty good - not perfect - prints.